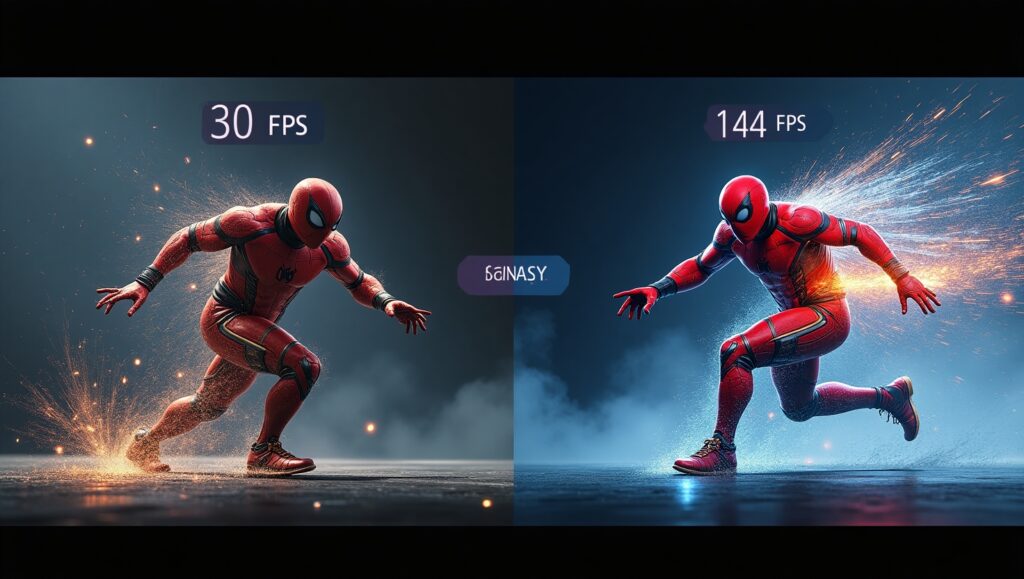
Resolution vs. Graphics Settings: The Ultimate Guide to a smoother Game You’ve finally done it. You’ve saved up, researched for hours, and built your dream gaming PC. You download the latest, most gorgeous open-world game, fire it up, and… the experience is a stuttery, frustrating mess. Your first thought: “What’s wrong? I have a great graphics card!”
So, you dive into the settings menu, a daunting list of options like “Resolution,” “Texture Quality,” “Shadows,” and “Ray Tracing.” You have two powerful levers to pull to fix this: lower the resolution or turn down the graphics settings. But which one should you change? If you lower the resolution, everything gets blurry. If you turn down the settings, the game might look like a potato.
This is one of the oldest dilemmas in PC gaming. Understanding the answer doesn’t just fix your slideshow; it empowers you to perfectly tune your game for the best possible experience on your hardware. It’s the difference between just playing a game and truly experiencing it.
Let’s settle this once and for all. In the battle of Resolution vs. Graphics Settings, which one impacts your FPS more?
Spoiler alert: It’s almost always Resolution. But the why is the fascinating part, and knowing the exceptions to this rule is what will make you a PC tuning expert.
Table of Contents
Chapter 1: Meet the Contestants – What Are We Even Talking About?
Before we pit them against each other, let’s get to know our two competitors.
The Pixel Pusher: Resolution
Imagine your monitor is a grid of tiny, individual lights called pixels. Resolution is simply the dimensions of that grid.
- 1920 x 1080 (Full HD or 1080p): A grid of 1920 pixels across and 1080 pixels down. That’s 2,073,600 total pixels that your GPU has to light up for every single frame.
- 2560 x 1440 (Quad HD or 1440p): A grid of 2560 x 1440 pixels. That’s 3,686,400 total pixels—a 78% increase over 1080p!
- 3840 x 2160 (Ultra HD or 4K): The big one. A grid of 3840 x 2160 pixels. That’s a staggering 8,294,400 total pixels. Your GPU is now working with four times as many pixels as it did at 1080p.
The Simple Analogy: Think of resolution as the size of your canvas. A bigger canvas (higher resolution) means your artist has to cover more area.
The Detail Artist: Graphics Settings
If resolution is the size of the canvas, graphics settings are the artistic style and level of detail the artist uses.
These settings control the quality and complexity of everything you see on that canvas of pixels:
- Texture Quality: The sharpness and detail of surfaces (walls, character skin, armor).
- Shadow Quality: The softness, clarity, and accuracy of shadows.
- Anti-Aliasing: Smoothing out the “jaggies” or stair-step patterns on curved lines and edges.
- Reflections: How surfaces like water and windows mirror the world.
- Ray Tracing: A hyper-realistic method of calculating light, shadows, and reflections.
- Ambient Occlusion: How light behaves in cracks and corners, adding depth.
- View Distance: How far into the distance you can see objects and terrain.
The Simple Analogy: A painter can paint a vast, wall-sized mural (high resolution) with simple, cartoonish shapes (low graphics settings). Alternatively, they can paint a small, postcard-sized canvas (low resolution) with photorealistic, intricate detail (high graphics settings).
Chapter 2: The Heavyweight Champion – Why Resolution is the FPS King
Now, let’s get to the core of the debate. Why does resolution have such a massive, brute-force impact on your performance?
It all comes down to one word: throughput.
Your Graphics Processing Unit (GPU) is a monstrously parallel processor. It’s designed to perform millions of small calculations simultaneously. Its primary job is to figure out what color each of the millions of pixels on your screen should be, 60, 120, or even 240 times per second.
When you increase the resolution, you are fundamentally increasing the sheer number of jobs the GPU must complete for each frame. Going from 1080p to 4K isn’t a 10% or 20% increase in workload. It’s a 300% increase. It’s like asking a factory that’s perfectly calibrated to produce 2 million widgets an hour to suddenly produce 8 million. The machinery has to work four times as hard, even if the widgets are identically simple.
The math is inescapable. More pixels = more work. This workload hits every part of the GPU’s rendering pipeline. It’s a blanket tax on performance.
The Real-World Test:
Let’s say you’re playing a game with an RTX 4070 at “Ultra” settings.
- At 1080p, you might get a smooth 140 FPS.
- At 1440p, your FPS might drop to a still-great 95 FPS.
- At 4K, your FPS could plummet to a choppy 45 FPS.
See that drastic drop? That’s the raw power of resolution. It is, without a doubt, the single biggest setting affecting your framerate.

Chapter 3: The Strategic Game – The nuanced impact of Graphics Settings
If resolution is the sledgehammer, graphics settings are a set of precision sculpting tools. Their impact on FPS is far more nuanced and variable. Turning down one setting might net you 10 extra FPS, while turning down another might only get you 2.
Why? Because each setting taxes a different part of your system.
- The GPU Core (Shaders): Most settings, like lighting, shadows, and post-processing effects, hammer the standard processing cores of your GPU. This is the “general workload” area.
- VRAM (Video Memory): This is your GPU’s dedicated, high-speed memory. It acts as a temporary warehouse for all the textures, models, and assets needed to render a scene. The Texture Quality setting is almost entirely dependent on VRAM. Using ultra-resolution textures fills up your VRAM quickly. If you exceed your available VRAM, the game will start dumping assets into your much slower system RAM, causing catastrophic stuttering and FPS drops. This is why having enough VRAM is crucial.
- The CPU: Settings that increase the complexity of the game world itself—like View Distance, Level of Detail (LOD), and NPC Population—often put more strain on the CPU. The CPU has to calculate the position and logic of all those distant objects and characters before the GPU can render them. If your CPU is the bottleneck, lowering these settings can provide a nice FPS boost.
The Real-World Test:
Let’s go back to our RTX 4070 example, now locked at 1440p.
- At Ultra settings, we get 95 FPS.
- If we drop the preset to High, we might see 115 FPS.
- If we meticulously turn down only the most demanding settings (shadows, ray tracing) from Ultra to High, we might hit a sweet spot of 105 FPS without a massive visual downgrade.
The gain is significant, but notice it’s not as drastic as the drop we saw from changing resolution. Tweaking settings is about efficiency—gaining back FPS while preserving as much visual fidelity as possible.

Chapter 4: The Tug of War – Balancing the Two for the Perfect Experience
So, if resolution has the biggest impact, should you always just play at 1080p on a 4K monitor? Absolutely not. That would look terrible and blurry. The goal is to find your perfect balance.
Here’s a strategic guide on how to think about it:
Your Primary Goal: Maximize Clarity and Sharpness
The first and most important rule is always run your game at your monitor’s native resolution. Stretching a lower resolution (like 1080p) to fit a higher-resolution monitor (like 1440p) will always look soft and blurry because the monitor’s pixels can’t perfectly map to the image’s pixels. You’re sacrificing the single most important aspect of image quality: sharpness.
The solution? Use Graphics Settings as your tuning dial. Native resolution is non-negotiable for clarity. Therefore, you must adjust graphics settings to hit your target framerate.
The Step-by-Step Tuning Guide
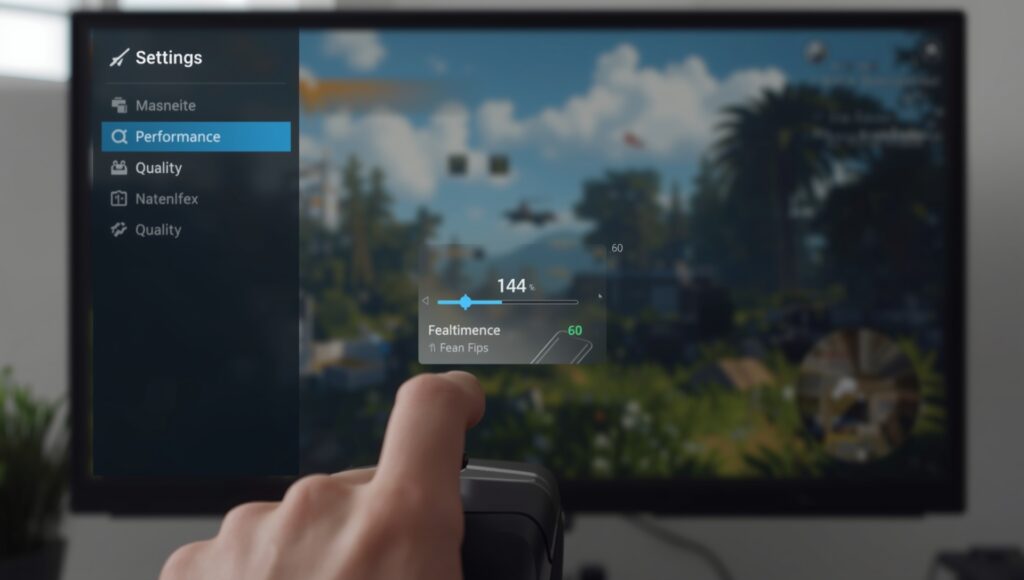
- Start High: Launch your game. Set the resolution to your monitor’s native resolution (e.g., 2560×1440). Set the graphics preset to “Ultra” or “High.” Note your average FPS.
- Identify Your Target: What is your goal?
- 60 FPS: The standard for a smooth, enjoyable single-player experience.
- 100+ FPS: The target for high-refresh-rate monitors (144Hz, 240Hz) for competitive gaming.
- Tweak Strategically: If you’re below your target, start turning down the settings that cost the most FPS for the least visual gain. Here’s a typical hit list, from most impact to least:
- Ray Tracing: The ultimate FPS killer. Turn this off first if you need performance. It’s beautiful but incredibly demanding.
- Shadows: High-quality shadows are very costly. Dropping from “Ultra” to “High” often nets a great FPS boost with a barely noticeable visual difference.
- Anti-Aliasing: Techniques like MSAA are very demanding. Newer methods like TAA are more efficient. If you’re playing at 1440p or 4K, you can often turn AA down or even off, as the high pixel density naturally reduces “jaggies.”
- Ambient Occlusion: Another nice-to-have that can be turned down without ruining the experience.
- Texture Quality: Leave this as high as your VRAM allows! Textures are responsible for the fine details that make the world feel real. If you have an 8GB GPU, you can probably run “High” textures. If you have 12GB+, “Ultra” is likely safe. This setting impacts visual quality more than almost any other.
- View Distance: Only reduce this if you’re CPU-bound (check with a performance overlay). In many games, it doesn’t affect GPU load much.
- The Nuclear Option (Upscaling): If you’ve turned down settings and are still not hitting your target, it’s time for the secret weapon: Upscaling Technologies (DLSS, FSR, XeSS).
These technologies are genius. They let you render the game at a lower resolution (e.g., 1080p for a 1440p monitor), which gives you a huge FPS boost. Then, using AI or complex algorithms, they intelligently upscale that lower-resolution image to fit your native screen. The result? 80-90% of the image quality of native resolution, with a massive 40-70% boost in FPS. It’s the best of both worlds and should be your go-to tool before you ever consider lowering your render resolution manually.
Chapter 5: The Exceptions to the Rule – When Settings Matter More
While resolution is generally the biggest factor, context is everything.
- The CPU Bottleneck: If you have a powerful GPU like an RTX 4090 but a much older CPU, you might run into a CPU bottleneck. In this scenario, your CPU can’t prepare frames fast enough for the GPU to render. Here, increasing the resolution might not lower your FPS much at all! The GPU is being held back by the CPU, so making the GPU work harder (by increasing resolution) doesn’t further slow down the overall process. The framerate is already capped by the CPU. In this unique case, you might as well crank the resolution and graphics settings up, as your FPS won’t drop further.
- VRAM Limitation: If you max out the “Texture Quality” setting on a GPU with limited VRAM, the resulting stutter will make the game feel much worse than a simple FPS drop from high resolution. In this case, lowering texture quality (a graphics setting) will have a more dramatic impact on perceived smoothness than lowering resolution would.
Conclusion: Harmony, Not War
So, which impacts your FPS more? Resolution. It’s the fundamental workload multiplier.
But the real takeaway shouldn’t be a winner-takes-all victory. It’s about understanding their roles so they can work in harmony.
- Resolution is your foundation. Never compromise on your monitor’s native resolution. Its job is to provide a sharp, clear image.
- Graphics Settings are your fine-tuning instruments. Their job is to be adjusted to hit your performance target without sacrificing that foundational clarity.
Stop thinking of it as a choice between one or the other. The modern PC gamer’s strategy is beautifully simple:
Set your Resolution to Native. Then, use Graphics Settings and AI Upscaling (DLSS/FSR) to dial in your perfect balance of visual beauty and buttery-smooth performance.
This is the true art of PC gaming, and it’s what makes the platform so special. You’re not just a player; you’re the director and the cinematographer of your own experience. Now go forth and tune.
FAQs: Resolution vs. Graphics Settings
Q1: I have a 4K monitor but a mid-range GPU. Everyone says to use native resolution, but my game is so slow! Shouldn’t I just set the resolution to 1440p?
A: This is a classic dilemma. While setting your desktop resolution to 1440p is an option, it will often look softer or blurrier on your 4K monitor because the monitor’s pixels can’t perfectly map the 1440p image (a process called “upscaling”). The better, modern solution is to use AI-powered upscaling technologies.
Here’s what to do:
- In your game’s settings, keep the output/resolution set to your native 4K.
- Look for an upscaling setting like NVIDIA DLSS, AMD FSR, or Intel XeSS and enable it.
- Choose a quality mode like “Quality” or “Balanced.”
This way, the game renders internally at a lower resolution (like 1440p or even 1080p), giving you a huge FPS boost, but then uses intelligent algorithms to reconstruct a very sharp image that closely matches native 4K quality. It’s the best of both worlds: high performance and high clarity.
Q2: What is the one graphics setting I should turn down first if I need more FPS?
A: While it varies slightly by game, the usual suspects for the “biggest FPS gain with the least visual loss” are, in this order:
- Ray Tracing: This is almost always the single biggest FPS hog. Turning it off can often double your framerate. It’s beautiful, but it’s a luxury setting.
- Shadows: High-quality shadow rendering is extremely demanding. Dropping from “Ultra” to “High” or even “Medium” can net a significant performance gain, and the visual difference is often subtle unless you’re looking for it.
- Anti-Aliasing (AA): Older AA methods like MSAA are very performance-intensive. If you’re playing at a high resolution (1440p or 4K), the pixel density is so high you can often turn AA down or off without noticing many “jaggies.”
Q3: Why do you say to keep Texture Quality on High or Ultra? Doesn’t that hurt performance?
A: This is a crucial distinction. Texture Quality primarily uses VRAM (Video Memory), not raw GPU processing power.
Your GPU has its own dedicated, super-fast memory called VRAM. High-resolution texture packs are stored here for instant access. If you have enough VRAM (e.g., 8GB+ for 1440p, 12GB+ for 4K), setting textures to “High” or “Ultra” has a minimal impact on your FPS.
However, the visual payoff is massive! Textures define the detail on every surface—the scratches on metal, the weave of fabric, the bricks on a wall. Lowering this setting makes the entire game world look flat and muddy. So, if your GPU has the VRAM for it, always max out texture quality. You only need to lower it if you see stuttering, which is a sign your VRAM is full.
Q4: My game isn’t just low FPS; it’s stuttering and hitching. What does that mean, and which setting should I change?
A: Stuttering and hitching are different from a consistently low framerate and usually point to one of two specific issues:
- VRAM Overflow: This is the most common cause. If your game’s textures and assets need more VRAM than your GPU has, it starts shuffling data between the fast VRAM and your much slower system RAM. This causes horrible pauses and hitches. The fix: Lower your “Texture Quality” setting.
- CPU Bottleneck: If your CPU is struggling to keep up with preparing instructions for the GPU, you’ll see frametime spikes that feel like stutter, especially in complex scenes with lots of objects or NPCs. The fix: Lower CPU-intensive settings like “View Distance,” “Level of Detail (LOD),” or “NPC Population.”
Q5: I’ve heard about “CPU-bound” and “GPU-bound.” What do these mean, and how do they affect this debate?
A: These terms describe where the primary limitation (the “bottleneck”) in your system is.
- GPU-Bound: This is the most common scenario for gamers. It means your Graphics Card is working at 100% capacity and is the component limiting your FPS. This is when lowering resolution will have the most dramatic effect, as it directly reduces the GPU’s workload.
- CPU-Bound: This means your Processor is maxed out and can’t prepare game data fast enough to keep the GPU fed. The GPU is then left waiting, not running at 100%. In this case, lowering resolution won’t improve your FPS much, because the slow CPU is still the main problem. Here, you should lower CPU-heavy settings (see above) or consider a CPU upgrade.
You can check this by using a performance overlay (like MSI Afterburner) to monitor your CPU and GPU usage while in-game.
Q6: How can the EasyFPS Calculator help me with these decisions before I buy a game or a new monitor?
A: Our calculator is designed to take the guesswork out of PC building and game optimization. For this specific dilemma, you can use it to:
- Test Upgrades: See the estimated FPS gain from upgrading your GPU before you spend money. Will a new card let you game at 1440p Ultra instead of 1080p? The calculator can show you.
- Plan for a New Monitor: Thinking of buying a 1440p monitor? Plug your current components into the calculator, change the target resolution, and see exactly what FPS and graphics settings you can expect. This prevents buyer’s remorse.
- Optimize Settings: Model different graphics setting combinations on your current hardware to find the perfect balance for a specific game.
It’s a powerful planning tool that lets you experiment with the resolution vs. settings trade-off in a risk-free environment.